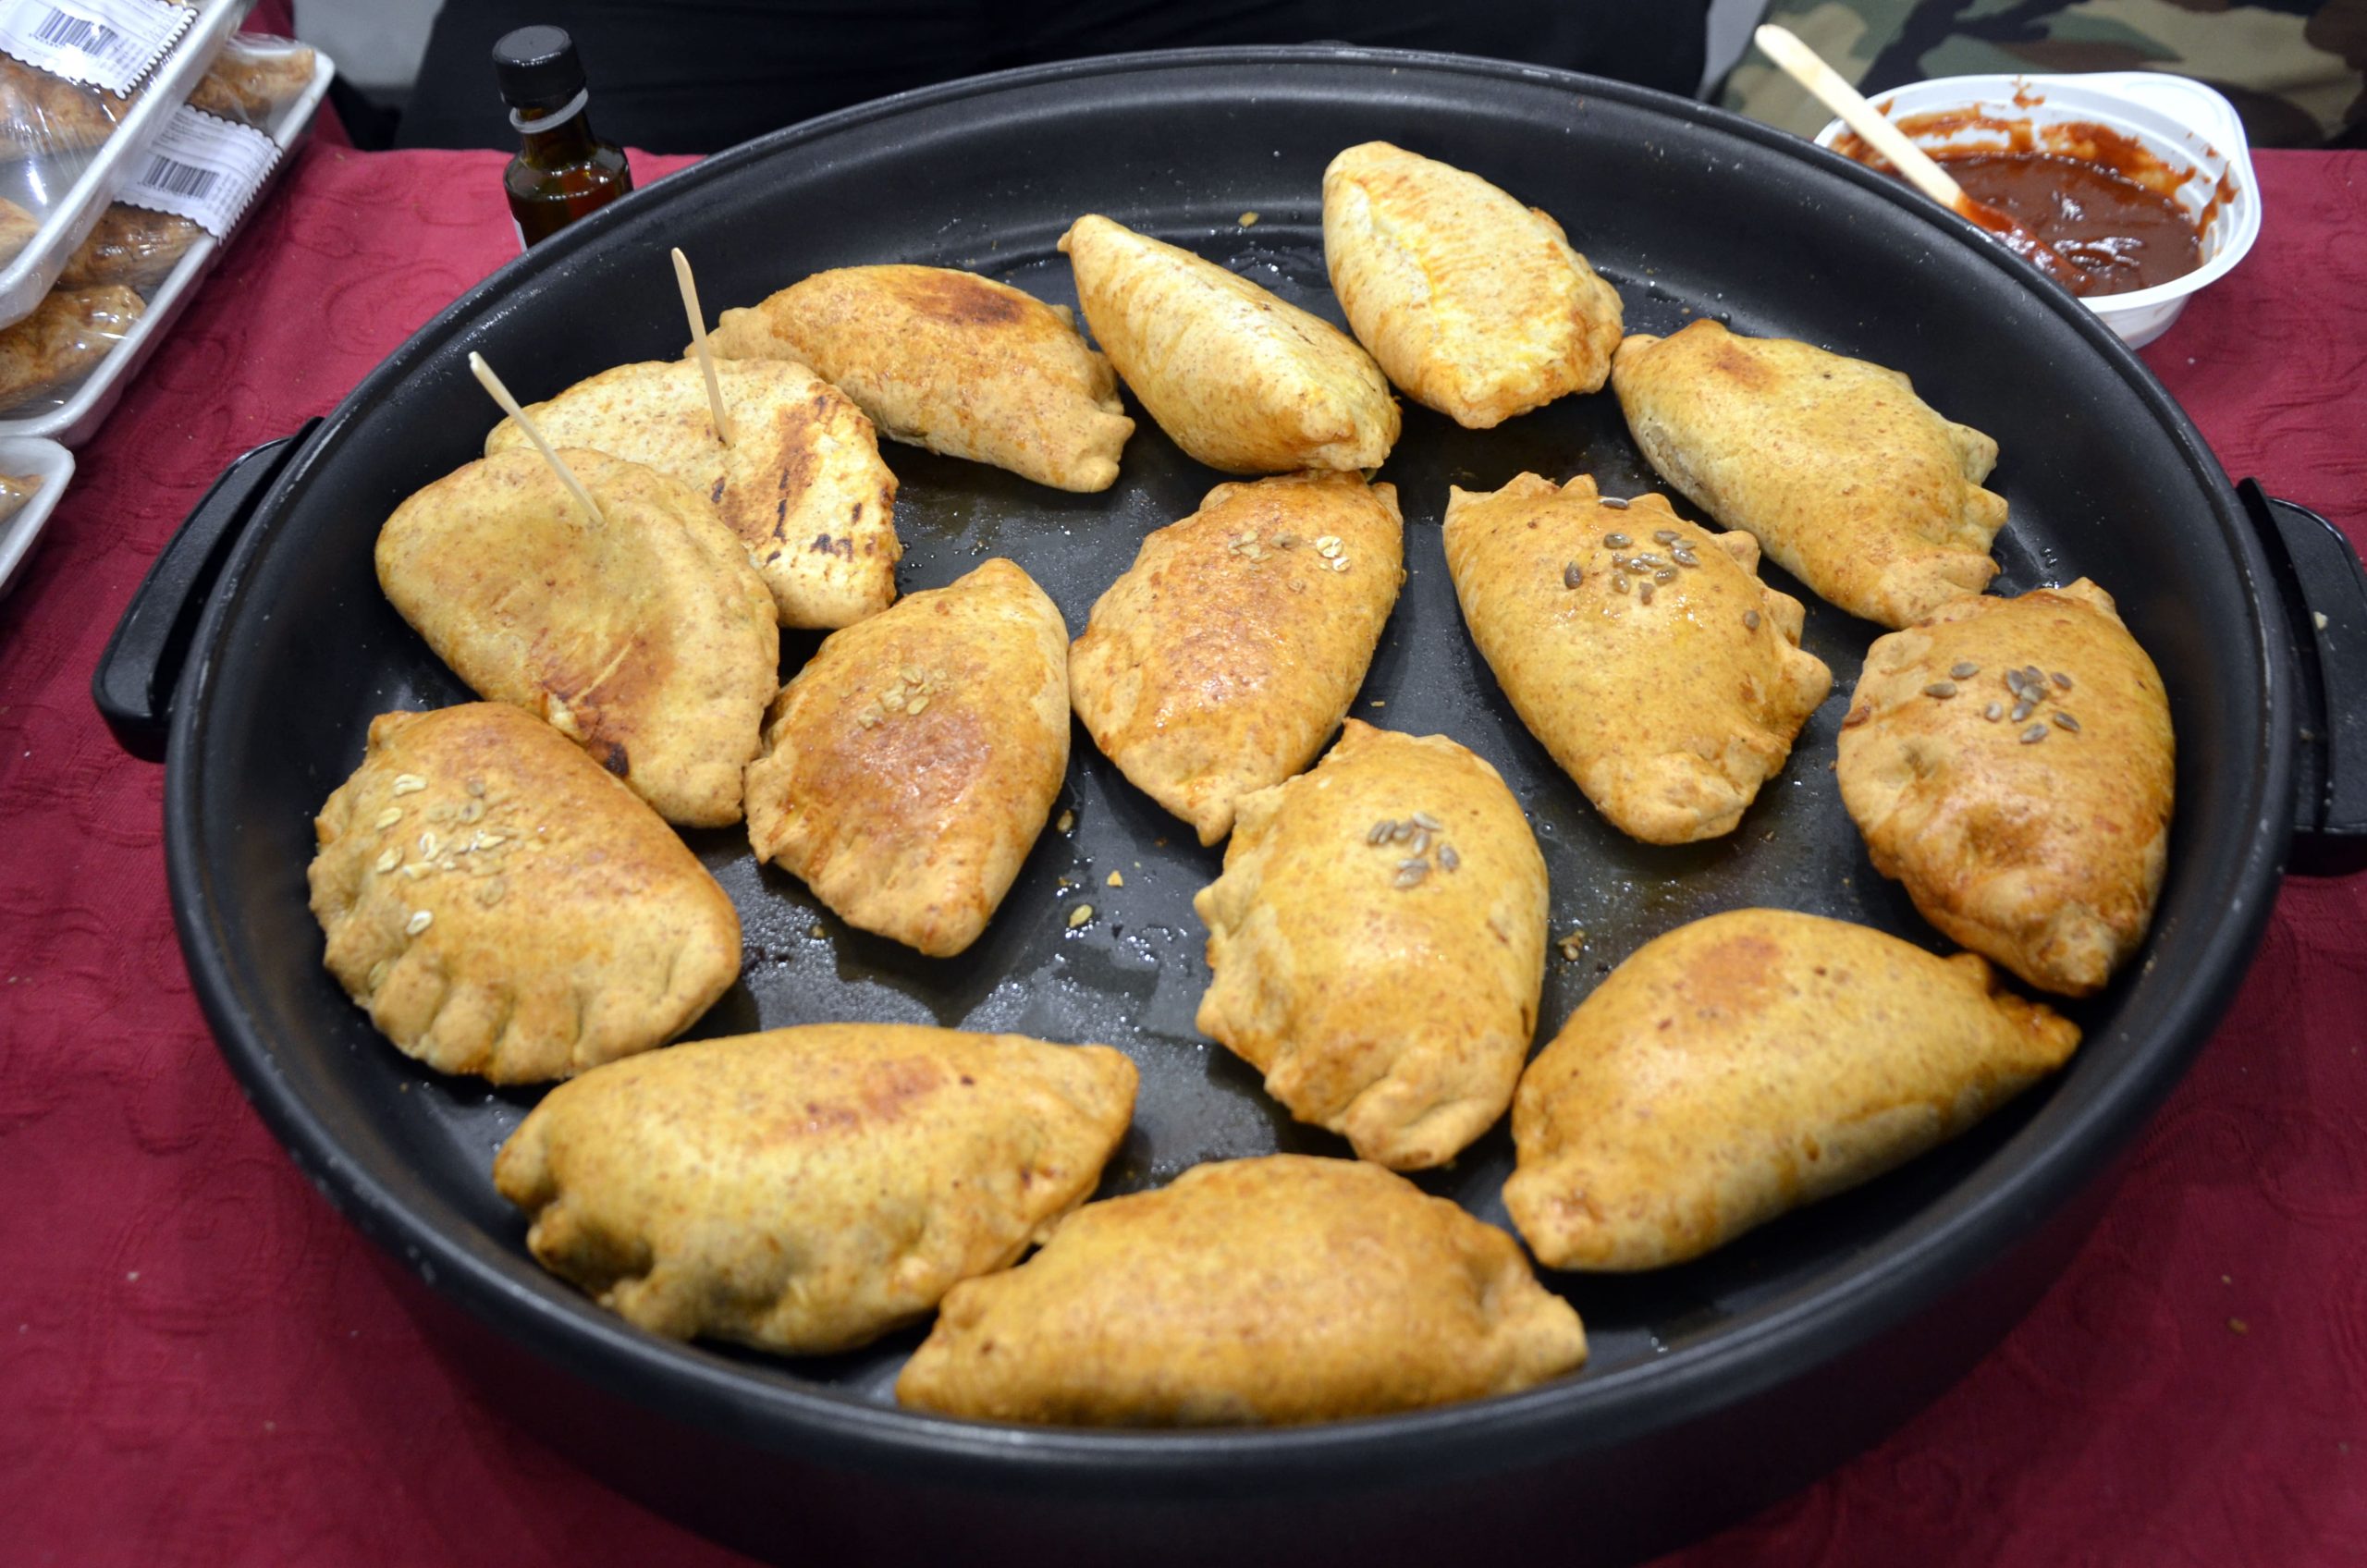
Lithuanian Kibinai – delightful crescent pastries
Kibinai are a beloved traditional pastry from the Baltic region, specifically Lithuania. These savory, crescent-shaped pockets are filled with a delicious blend of minced meat, onions, and spices, creating a harmonious balance of flavors that will tantalize your taste buds. Whether you’re a seasoned baker or a newcomer to the world of Kibinai, this step-by-step guide will empower you to master the art of crafting these mouthwatering delights in your own kitchen.
The History and Place of Origin of Kibinai
Kibinai have a rich history that can be traced back to the 14th century, when they were first mentioned in Lithuanian culinary records. The origins of this delectable pastry are believed to be rooted in the culinary traditions of the Grand Duchy of Lithuania, a powerful medieval state that once spanned a large portion of Eastern Europe. Over the centuries, Kibinai have become an integral part of Lithuanian culture, often served as a beloved comfort food or a special treat during celebrations and gatherings.
Ingredients Required for Making Kibinai
To create your own homemade Kibinai, you’ll need the following ingredients:
- Dough Ingredients:
- All-purpose flour
- Warm water
- Yeast
- Salt
- Butter or vegetable oil
- Filling Ingredients:
- Ground meat (beef, pork, or a combination)
- Onions
- Garlic
- Herbs and spices (such as marjoram, black pepper, and salt)
- Additional Ingredients:
- Egg wash (beaten egg mixed with water)
- Sesame seeds or poppy seeds (for topping)
Make sure to have all the necessary ingredients on hand before you begin your Kibinai-making journey.
Step-by-Step Guide to Making Kibinai Dough
- In a large mixing bowl, combine the all-purpose flour, yeast, and salt. Create a well in the center.
- Gradually add the warm water and knead the mixture until a smooth, elastic dough forms. If the dough is too sticky, add a bit more flour.
- Cover the dough with a damp cloth or plastic wrap and let it rest for 30 minutes to an hour, allowing the gluten to develop.
- Once the dough has rested, roll it out on a lightly floured surface to a thickness of about 1/4 inch.
- Using a sharp knife or a pizza cutter, cut the dough into triangular shapes, resembling crescent moons.
- Melt the butter or heat the vegetable oil in a small saucepan. Brush the dough triangles with the melted butter or oil, ensuring they are well-coated.
- Cover the dough triangles and let them rest for an additional 15-20 minutes before proceeding with the filling.
Preparing the Kibinai Filling
- In a skillet or saucepan, sauté the minced onions over medium heat until they become translucent and fragrant.
- Add the ground meat to the pan and cook, breaking it up with a wooden spoon, until it is no longer pink.
- Mince the garlic and add it to the pan, cooking for an additional minute or until fragrant.
- Season the meat mixture with your desired herbs and spices, such as marjoram, black pepper, and salt, to taste.
- Remove the filling from the heat and let it cool slightly before assembling the Kibinai.
Assembling and Shaping the Kibinai
- Preheat your oven to 375°F (190°C).
- Place a heaping tablespoon of the cooled meat filling onto the center of each dough triangle.
- Fold the dough over the filling, creating a crescent shape, and press the edges to seal them tightly.
- Arrange the assembled Kibinai on a baking sheet lined with parchment paper.
- Brush the tops of the Kibinai with the egg wash, and sprinkle with sesame seeds or poppy seeds (if desired).
Cooking Methods for Kibinai
- Baking:
- Preheat your oven to 375°F (190°C).
- Arrange the assembled Kibinai on a baking sheet lined with parchment paper.
- Bake for 20-25 minutes, or until the dough is golden brown and the filling is hot and bubbly.
- Pan-Frying:
- Heat a generous amount of vegetable oil or butter in a large skillet over medium-high heat.
- Carefully place the Kibinai in the hot oil and fry for 2-3 minutes per side, or until golden brown.
- Drain the fried Kibinai on a paper towel-lined plate before serving.
- Air Frying:
- Preheat your air fryer to 380°F (193°C).
- Arrange the Kibinai in a single layer in the air fryer basket.
- Air fry for 12-15 minutes, flipping halfway through, until the dough is crispy and the filling is hot.
Experiment with different cooking methods to find your preferred technique for perfectly cooked Kibinai.
Serving Suggestions and Accompaniments for Kibinai
Kibinai are best served hot and fresh, straight from the oven or fryer. They can be enjoyed as a main course, a side dish, or even as a snack. Some delicious serving suggestions and accompaniments include:
- Serve Kibinai with a side of sour cream, garlic sauce, or your favorite dipping sauce.
- Pair them with a fresh green salad or a hearty soup for a complete meal.
- Sprinkle the Kibinai with freshly chopped dill, chives, or parsley for an extra burst of flavor.
- Accompany the Kibinai with a glass of chilled Lithuanian beer or a refreshing iced tea.
Tips and Tricks for Perfecting Your Kibinai
- Ensure the dough is well-rested and properly kneaded to achieve a smooth, pliable texture.
- Use a combination of ground meats (beef and pork) for a more complex flavor profile.
- Experiment with different herbs and spices to find your perfect seasoning blend.
- Brush the dough with melted butter or oil to create a golden, flaky crust.
- Avoid overfilling the Kibinai, as this can cause the dough to tear or the filling to spill out.
- Bake the Kibinai on a preheated baking sheet or in a hot oven to ensure a crisp, evenly cooked exterior.
- Let the Kibinai cool for a few minutes before serving to allow the filling to set.
Variations and Creative Twists on the Traditional Kibinai Recipe
While the traditional Kibinai recipe is a true delight, you can also explore creative variations to suit your personal preferences or dietary needs:
- Vegetarian Kibinai: Substitute the ground meat with a mixture of sautéed mushrooms, lentils, or a plant-based protein of your choice.
- Cheese-Filled Kibinai: Add a layer of your favorite melted cheese, such as cheddar, feta, or mozzarella, to the filling.
- Potato Kibinai: Incorporate mashed or diced potatoes into the filling for a heartier, more comforting version.
- Herbed Kibinai: Experiment with different herb combinations, such as dill, parsley, and thyme, to create a fragrant and flavorful filling.
- Spicy Kibinai: Add a touch of heat by incorporating minced chili peppers or a sprinkle of cayenne pepper into the filling.
Frequently Asked Questions About Kibinai
- What is the difference between Kibinai and other similar pastries? Kibinai are unique in their crescent shape and the specific blend of minced meat, onions, and spices used in the filling. They differ from other Eastern European pastries, such as pierogi or pirozhki, which have different shapes and fillings.
- Can I make Kibinai ahead of time? Yes, you can prepare the Kibinai dough and filling in advance. Store the dough in the refrigerator for up to 3 days or in the freezer for up to 3 months. The filling can be made a day or two ahead and refrigerated until ready to assemble.
- How do I store leftover Kibinai? Cooked Kibinai can be stored in an airtight container in the refrigerator for up to 3 days. To reheat, you can place them in a preheated oven at 350°F (175°C) for 5-10 minutes, or until heated through.
- Can I freeze Kibinai for later? Yes, you can freeze both uncooked and cooked Kibinai. Arrange the uncooked Kibinai on a baking sheet and freeze until firm, then transfer them to an airtight container or freezer bag. Cooked Kibinai can also be frozen in a similar manner. When ready to serve, bake or reheat the frozen Kibinai directly from the freezer.
Ready to embark on your Kibinai-making journey? Gather your ingredients and let’s get started! Follow this step-by-step guide to create mouthwatering homemade Kibinai that will impress your family and friends. Remember, the key to perfect Kibinai is in the details, so don’t be afraid to experiment and find your own unique spin on this beloved Baltic pastry. Happy baking!